Ooma Home Security Review
Basic but affordable DIY home security systems with a Telo twist

SafeHome.org may receive compensation from some providers listed on this page. Learn More
We may receive compensation from some providers listed on this page. Learn More
Basic but affordable DIY home security systems with a Telo twist


Check out more recommendations from the SafeHome team:
If you’re not familiar with Ooma home security (and really, who is?), we think you’ll like what this little budget system brings to the table. We recently got a hold of Ooma and ran it through our gauntlet of testing. Sure, their equipment lineup isn’t exactly expansive, but if you’re the DIY type who values user-friendly tech and affordability, then Ooma is definitely worth a closer look for securing the homefront.
So what’s Ooma all about? Well, you can think of Ooma as a little cousin to Ring or SimpliSafe, only more basic with fewer products. And it’s slightly cheaper than its big-name brethren. In fact, if ever there was a wild card in the security industry, Ooma is it! Don’t worry, we’re going to share our hands-on experience with Ooma to find out if it’s right for you. We think you’ll like what’s in store.
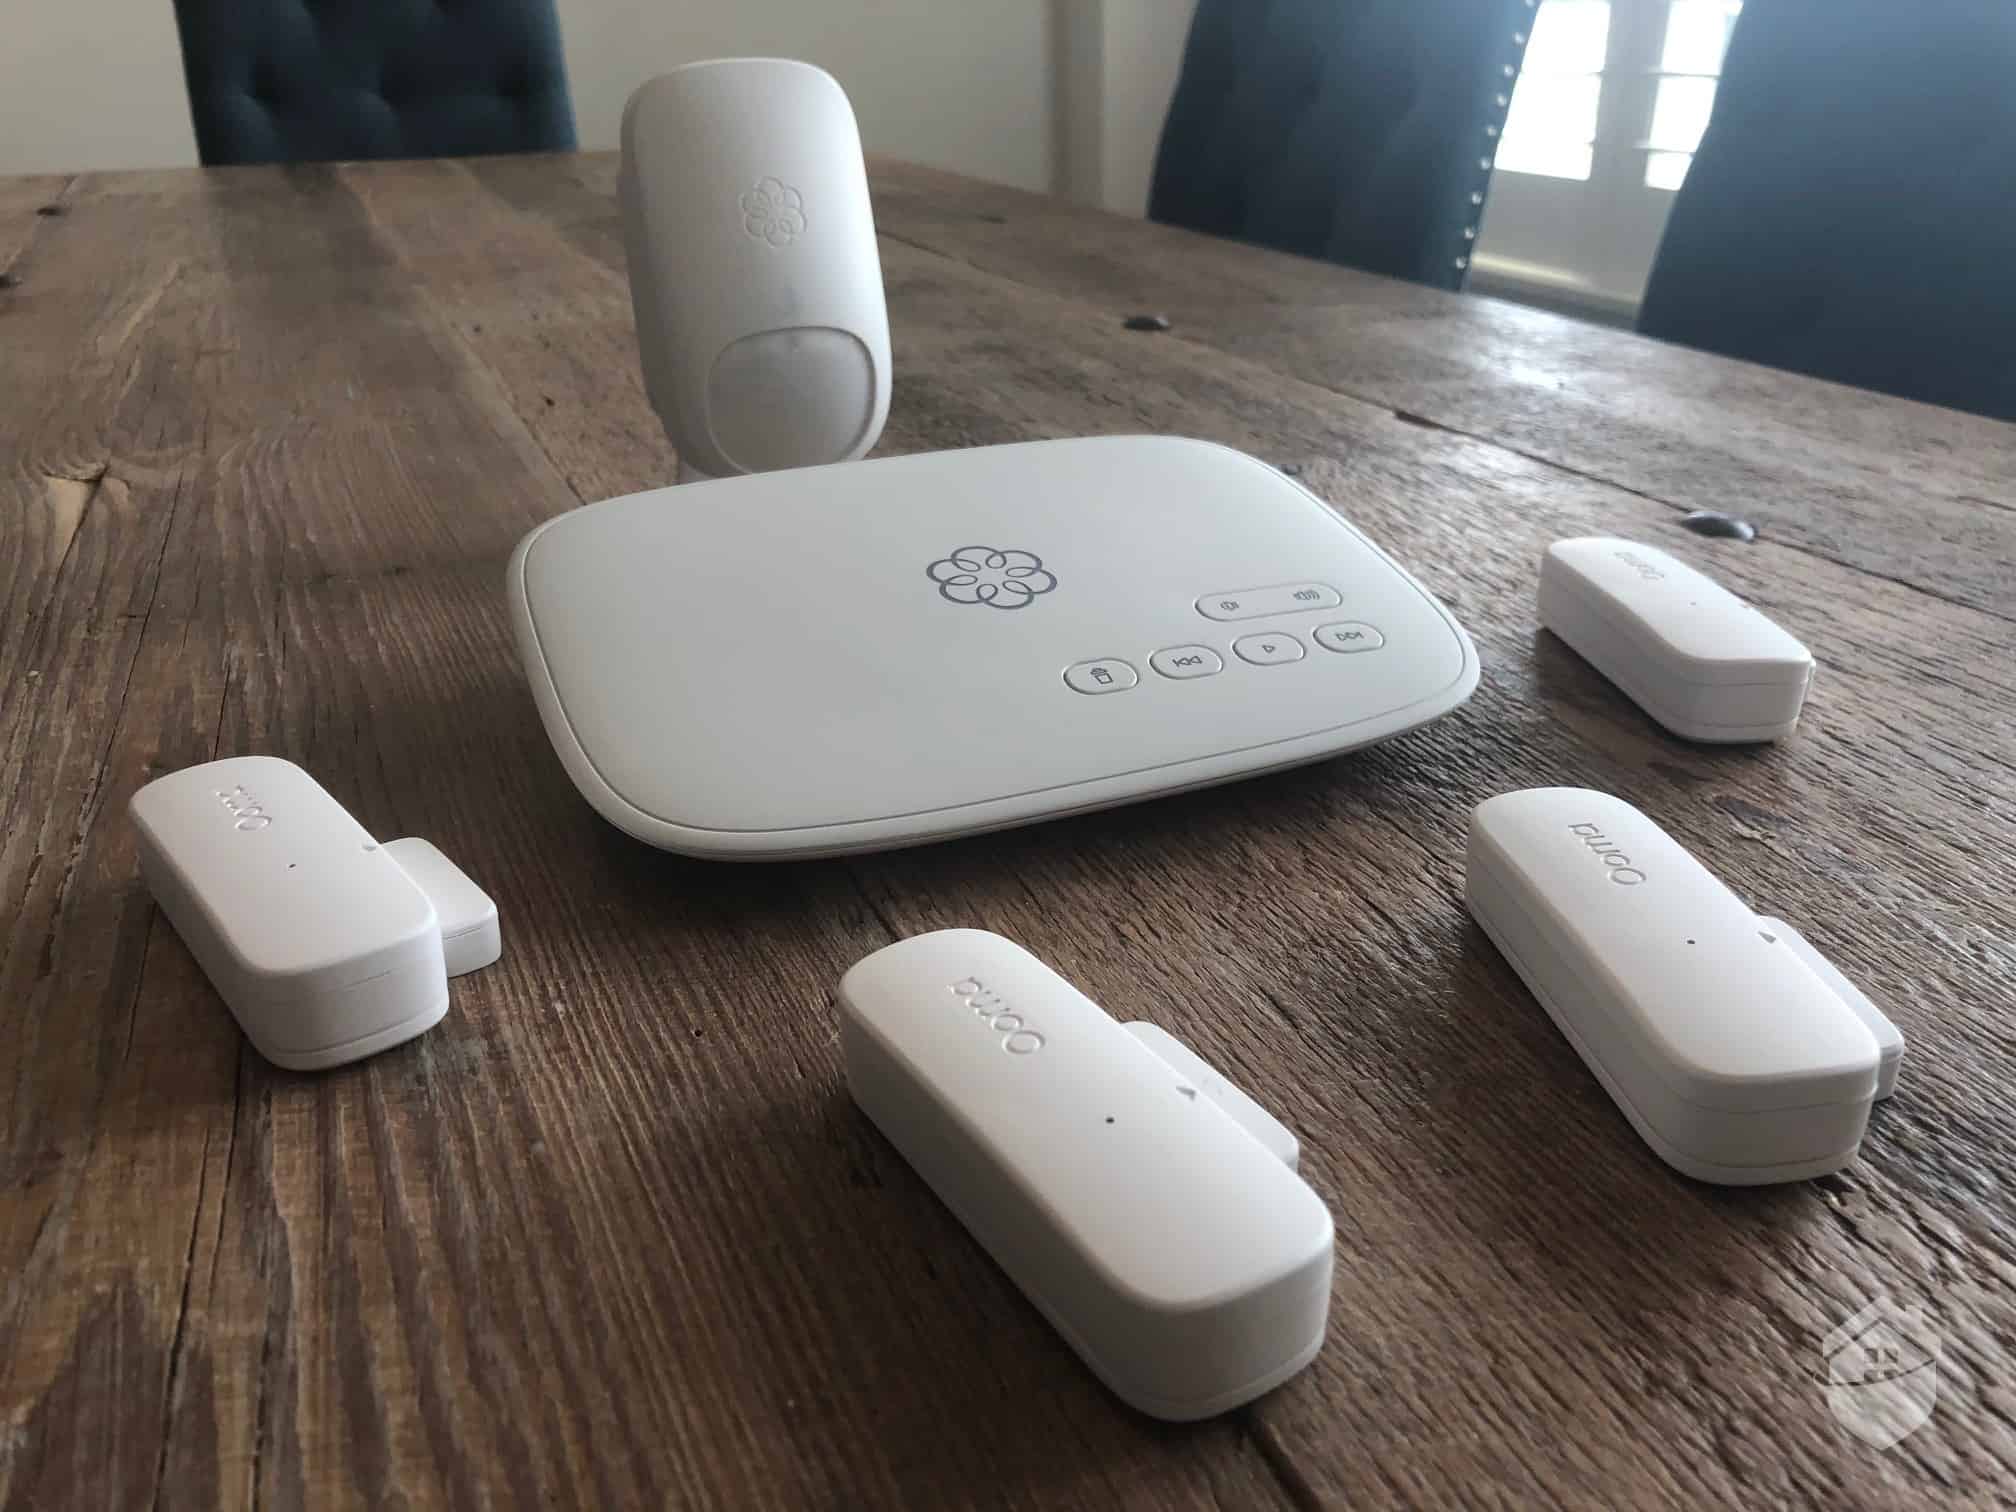
Ooma Smart Security Equipment
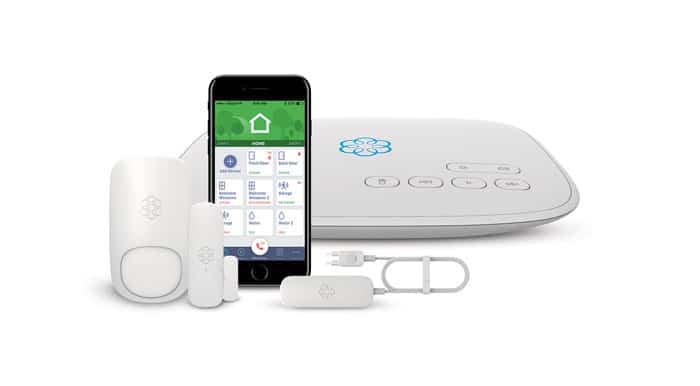
Unlike bigger home security brands that offer packages and plans galore, Ooma only offers two base packages. This actually made it pretty easy deciding on our equipment and monitoring. Here’s the gear we chose:
Since we caught a sale, the package only set us back $149.99 (usually $179.99). Note that we also threw in a couple of extra door/window sensors at $25 each, and you’ll probably have to do the same. So when the dust settled, we had about $200 invested in Ooma. Not bad at all. In fact, it’s one of the cheapest home security systems we’ve ever seen.
Note, however, that you’ll also need to purchase a siren separately if you want active deterrence and the ability to scare bad guys away. This is something we’re not used to seeing.
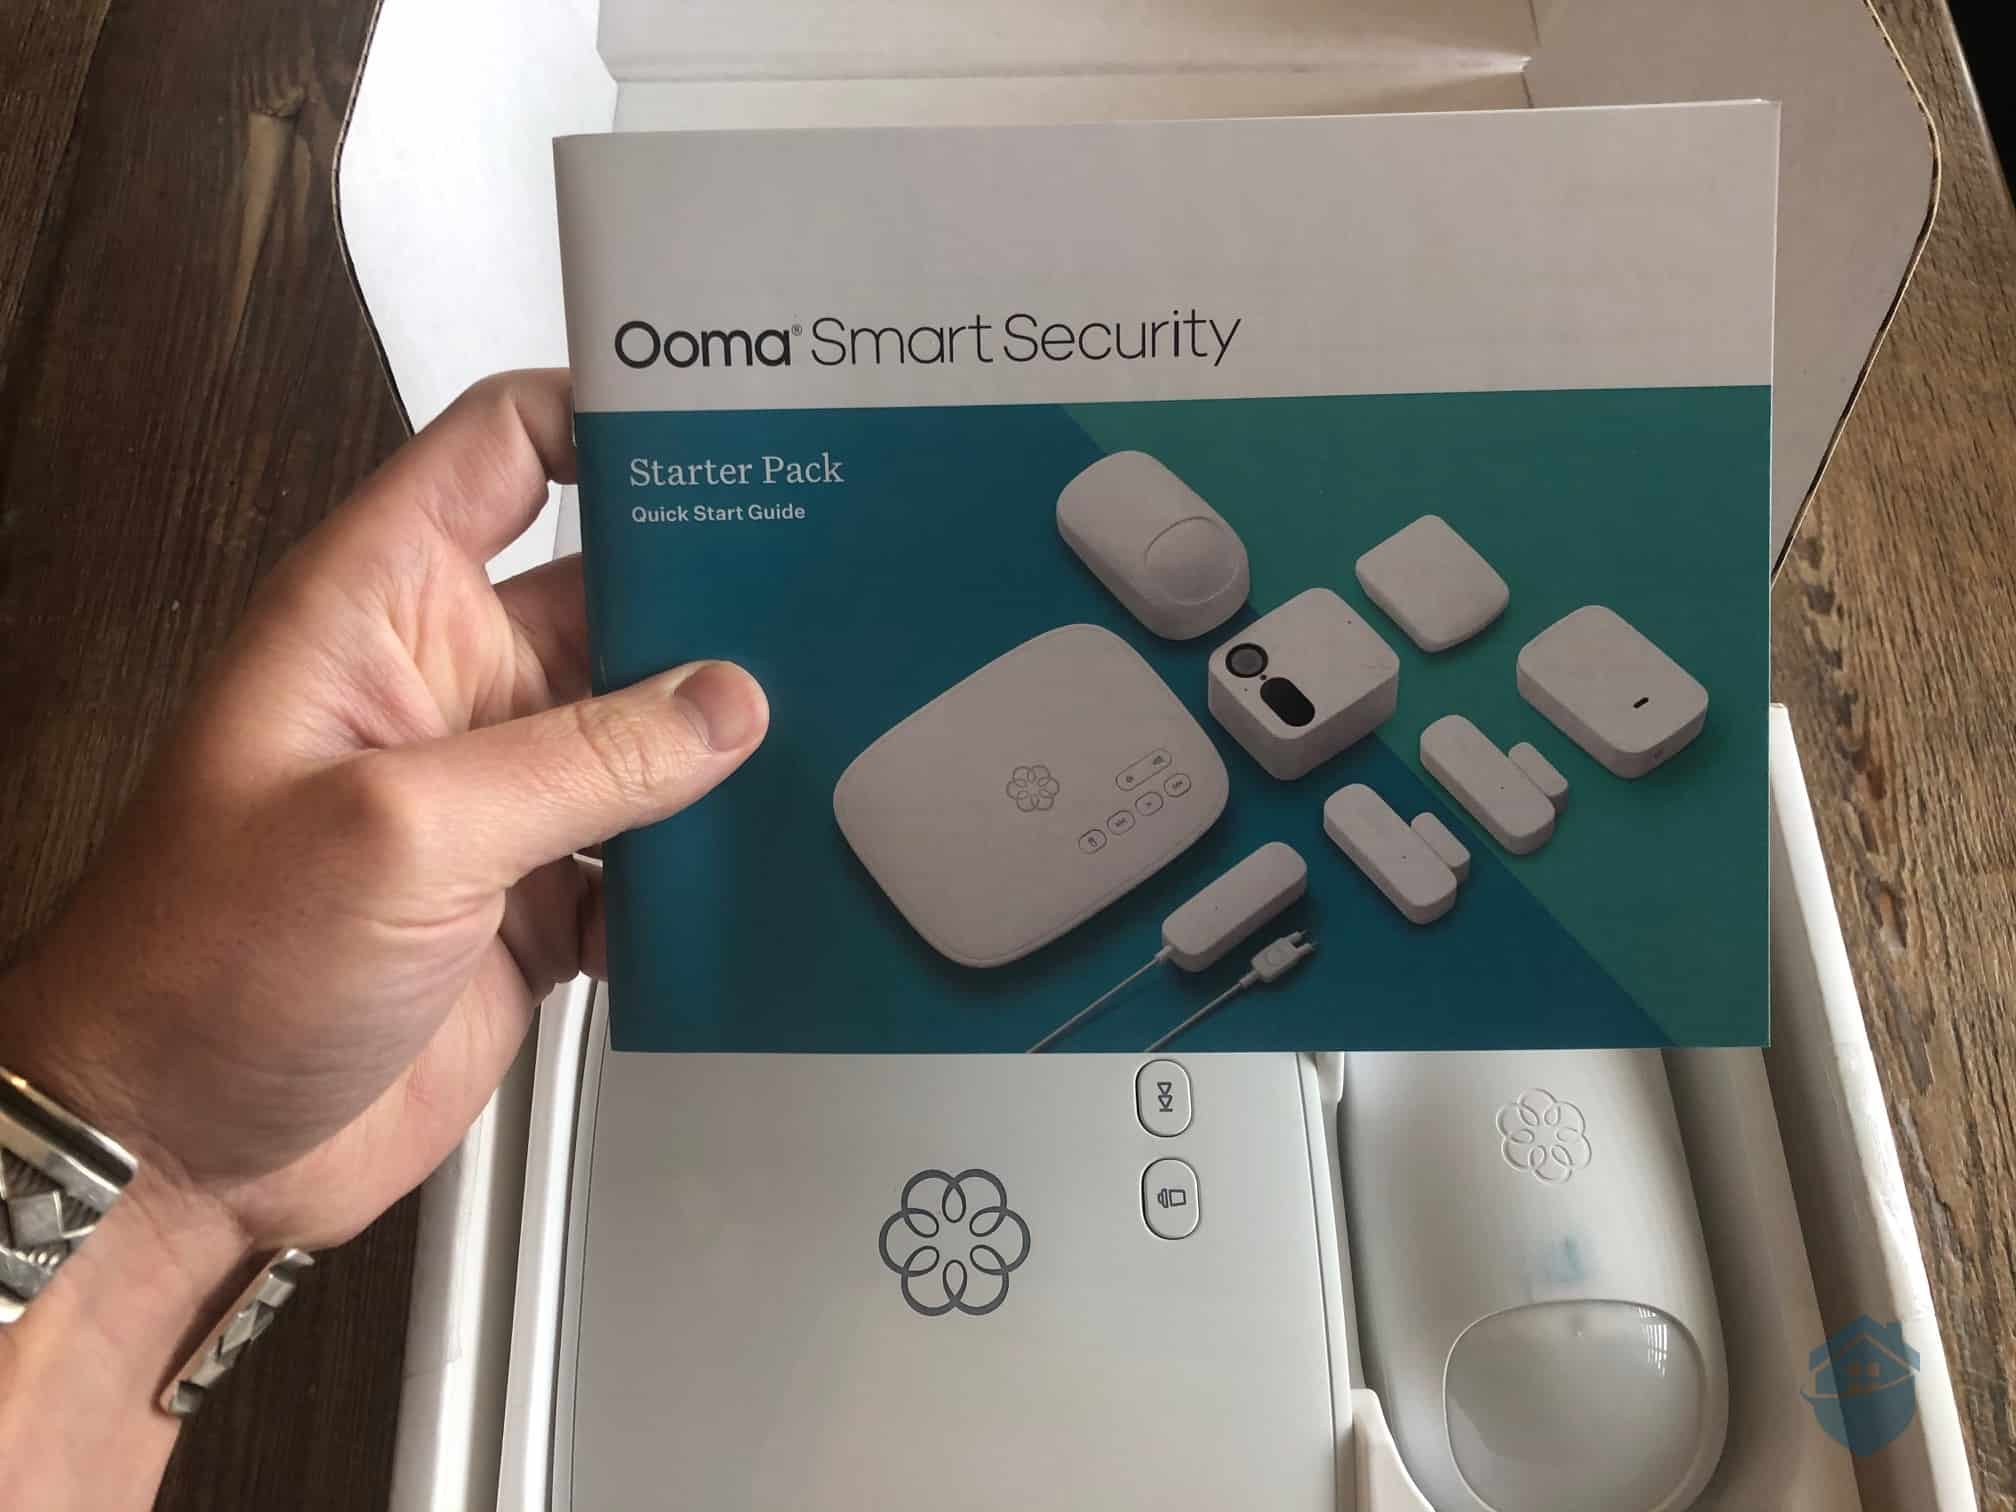
Ooma Smart Security Starter Pack
Moving right along…
We have to say, while unboxing our new toy, we weren’t thrilled with the packaging. The user manual wasn’t in a plastic baggie, so the ink on the manual rubbed off on our Ooma motion detector. No biggie, but have a look below.
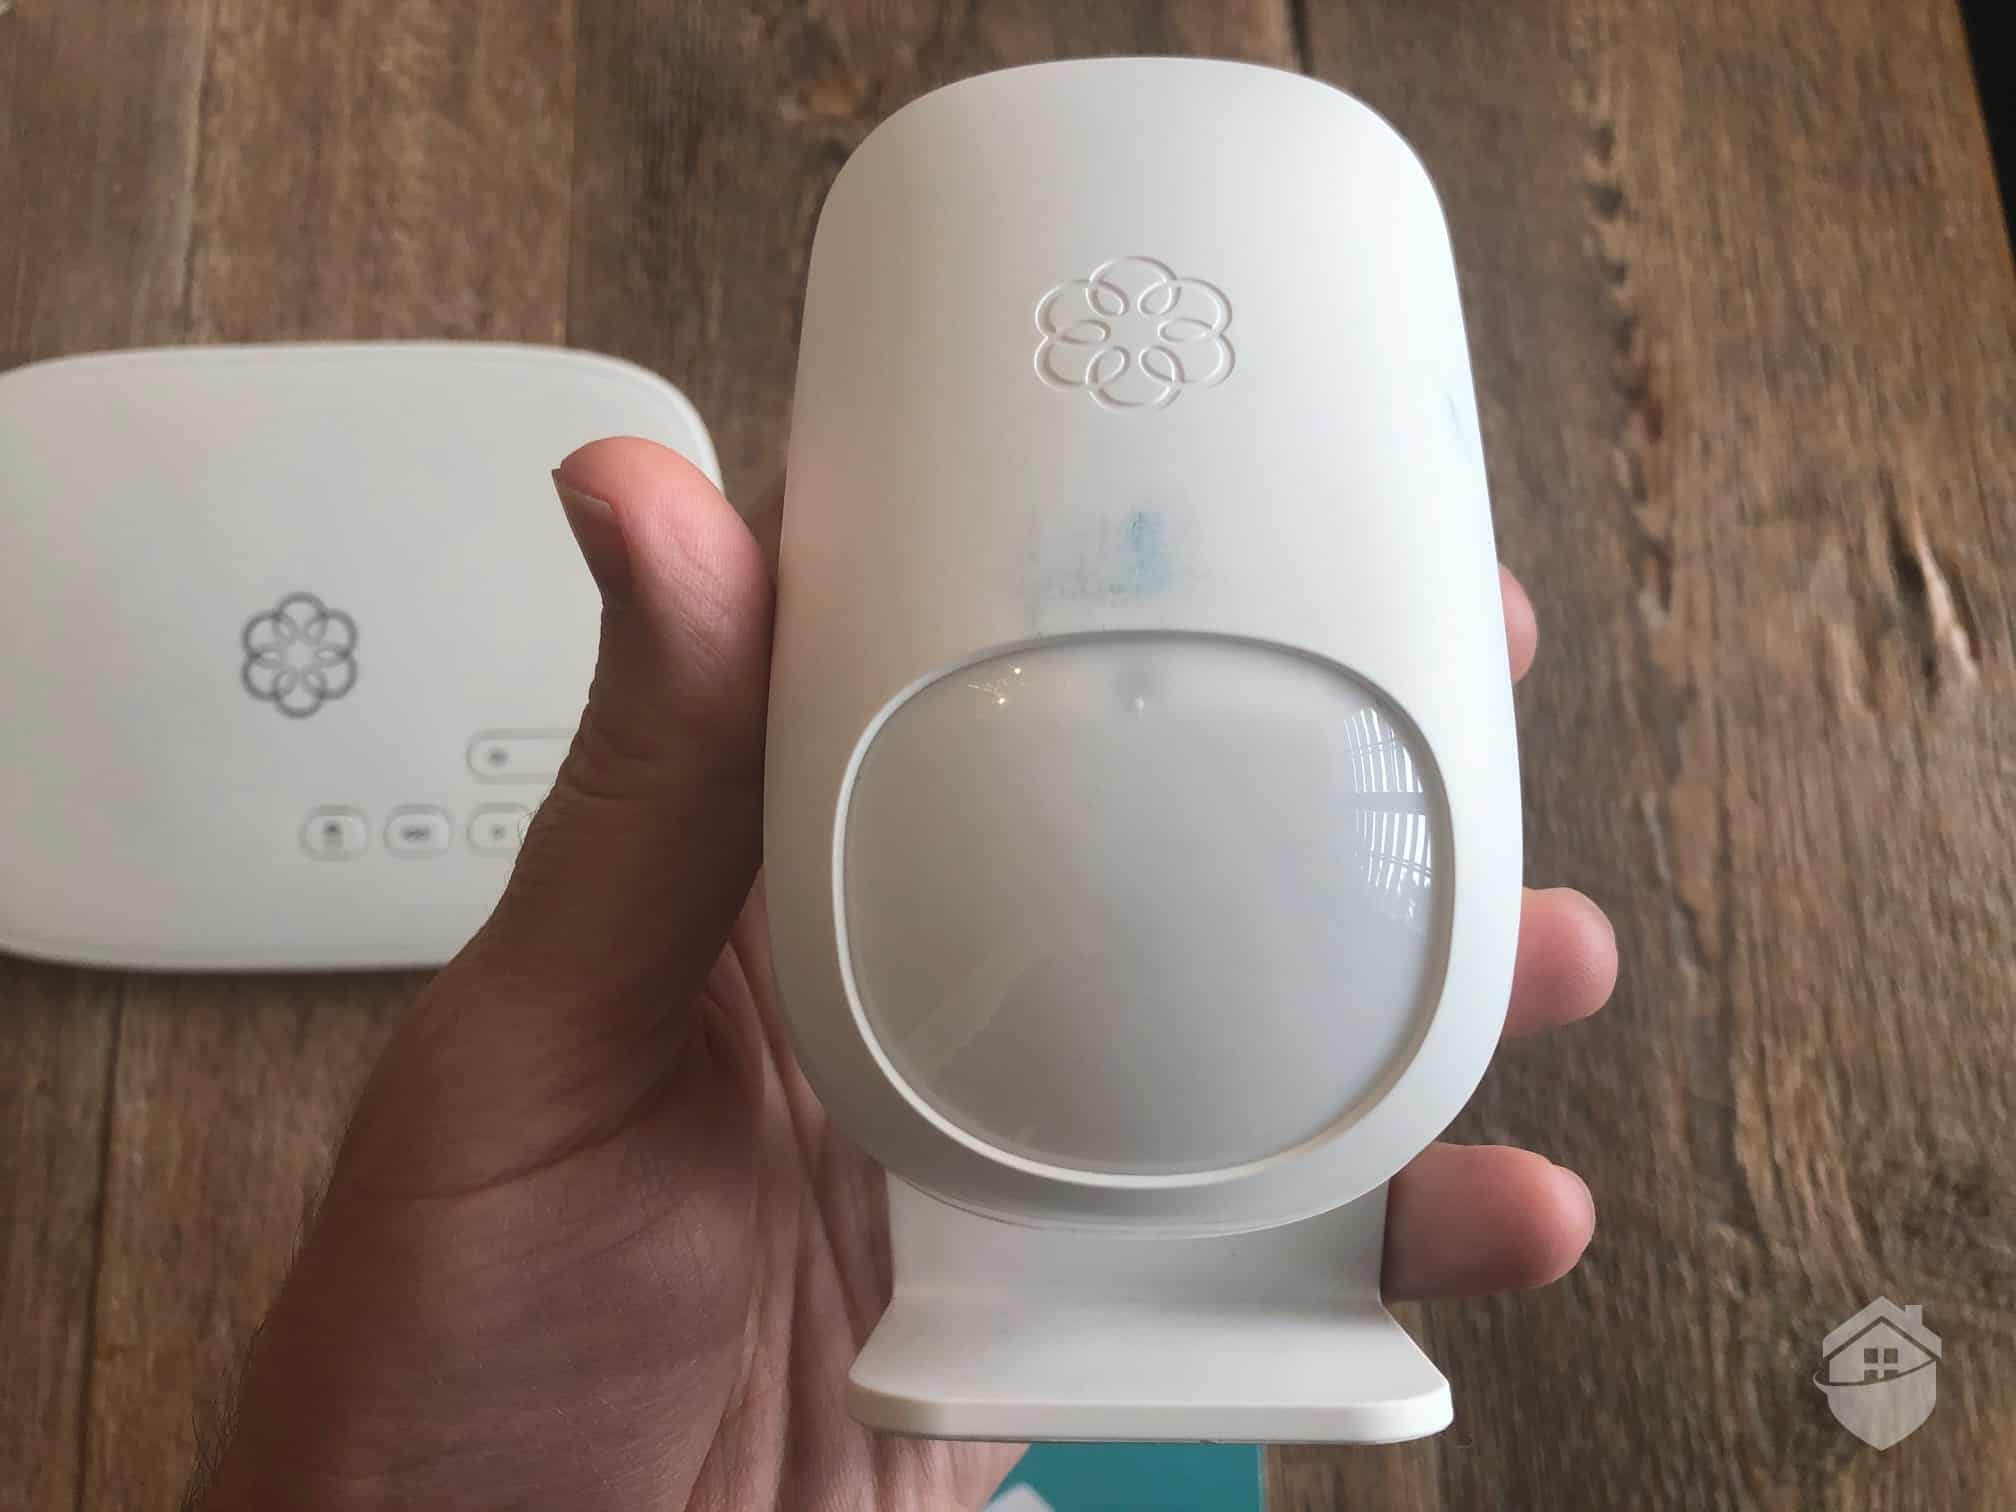
Ooma Motion Detector
It wasn’t a huge deal, as we were able to clean it off. Otherwise, we really liked equipment. For instance, the base station (Telo) was much smaller and lighter than we expected it to be, and it has a unique flower-like emblem that lights up in different colors.
That said, you have to connect this little guy to your Internet router, so it probably won’t be displayed for the world to see.
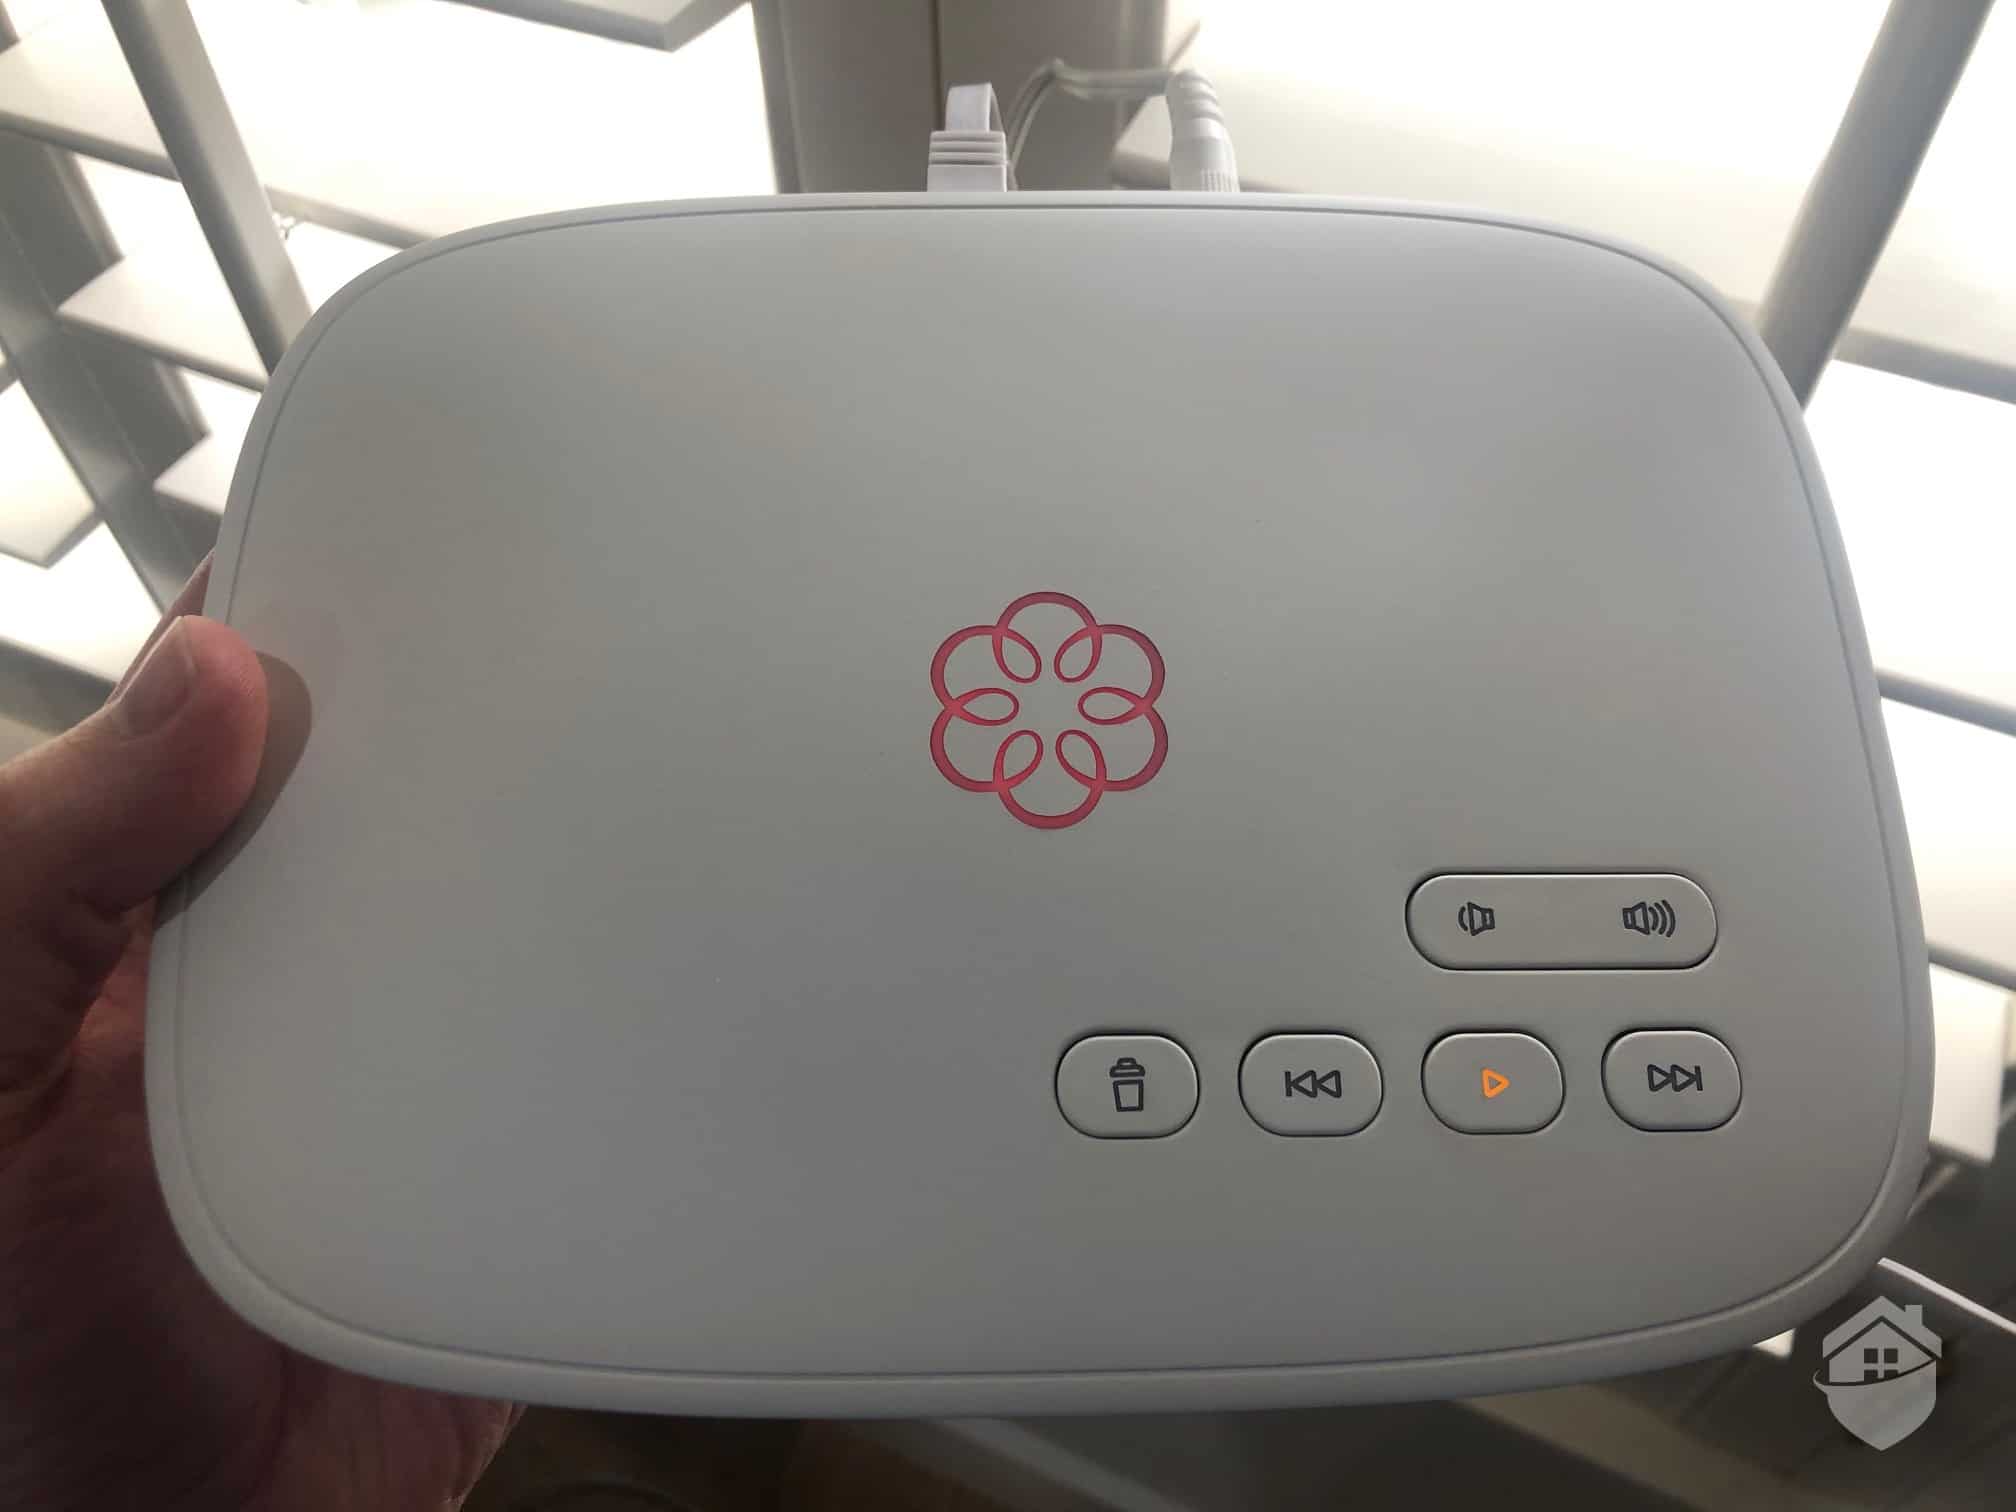
Ooma Smart Security Telo Hub
Another thing to keep in mind is that the entry sensors are… well… prominent. But despite their larger size, we think they’re surprisingly well-designed, and they have a slick feature we rarely see. We’ll talk more about the sensors in just a bit, but first, here’s one for scale.
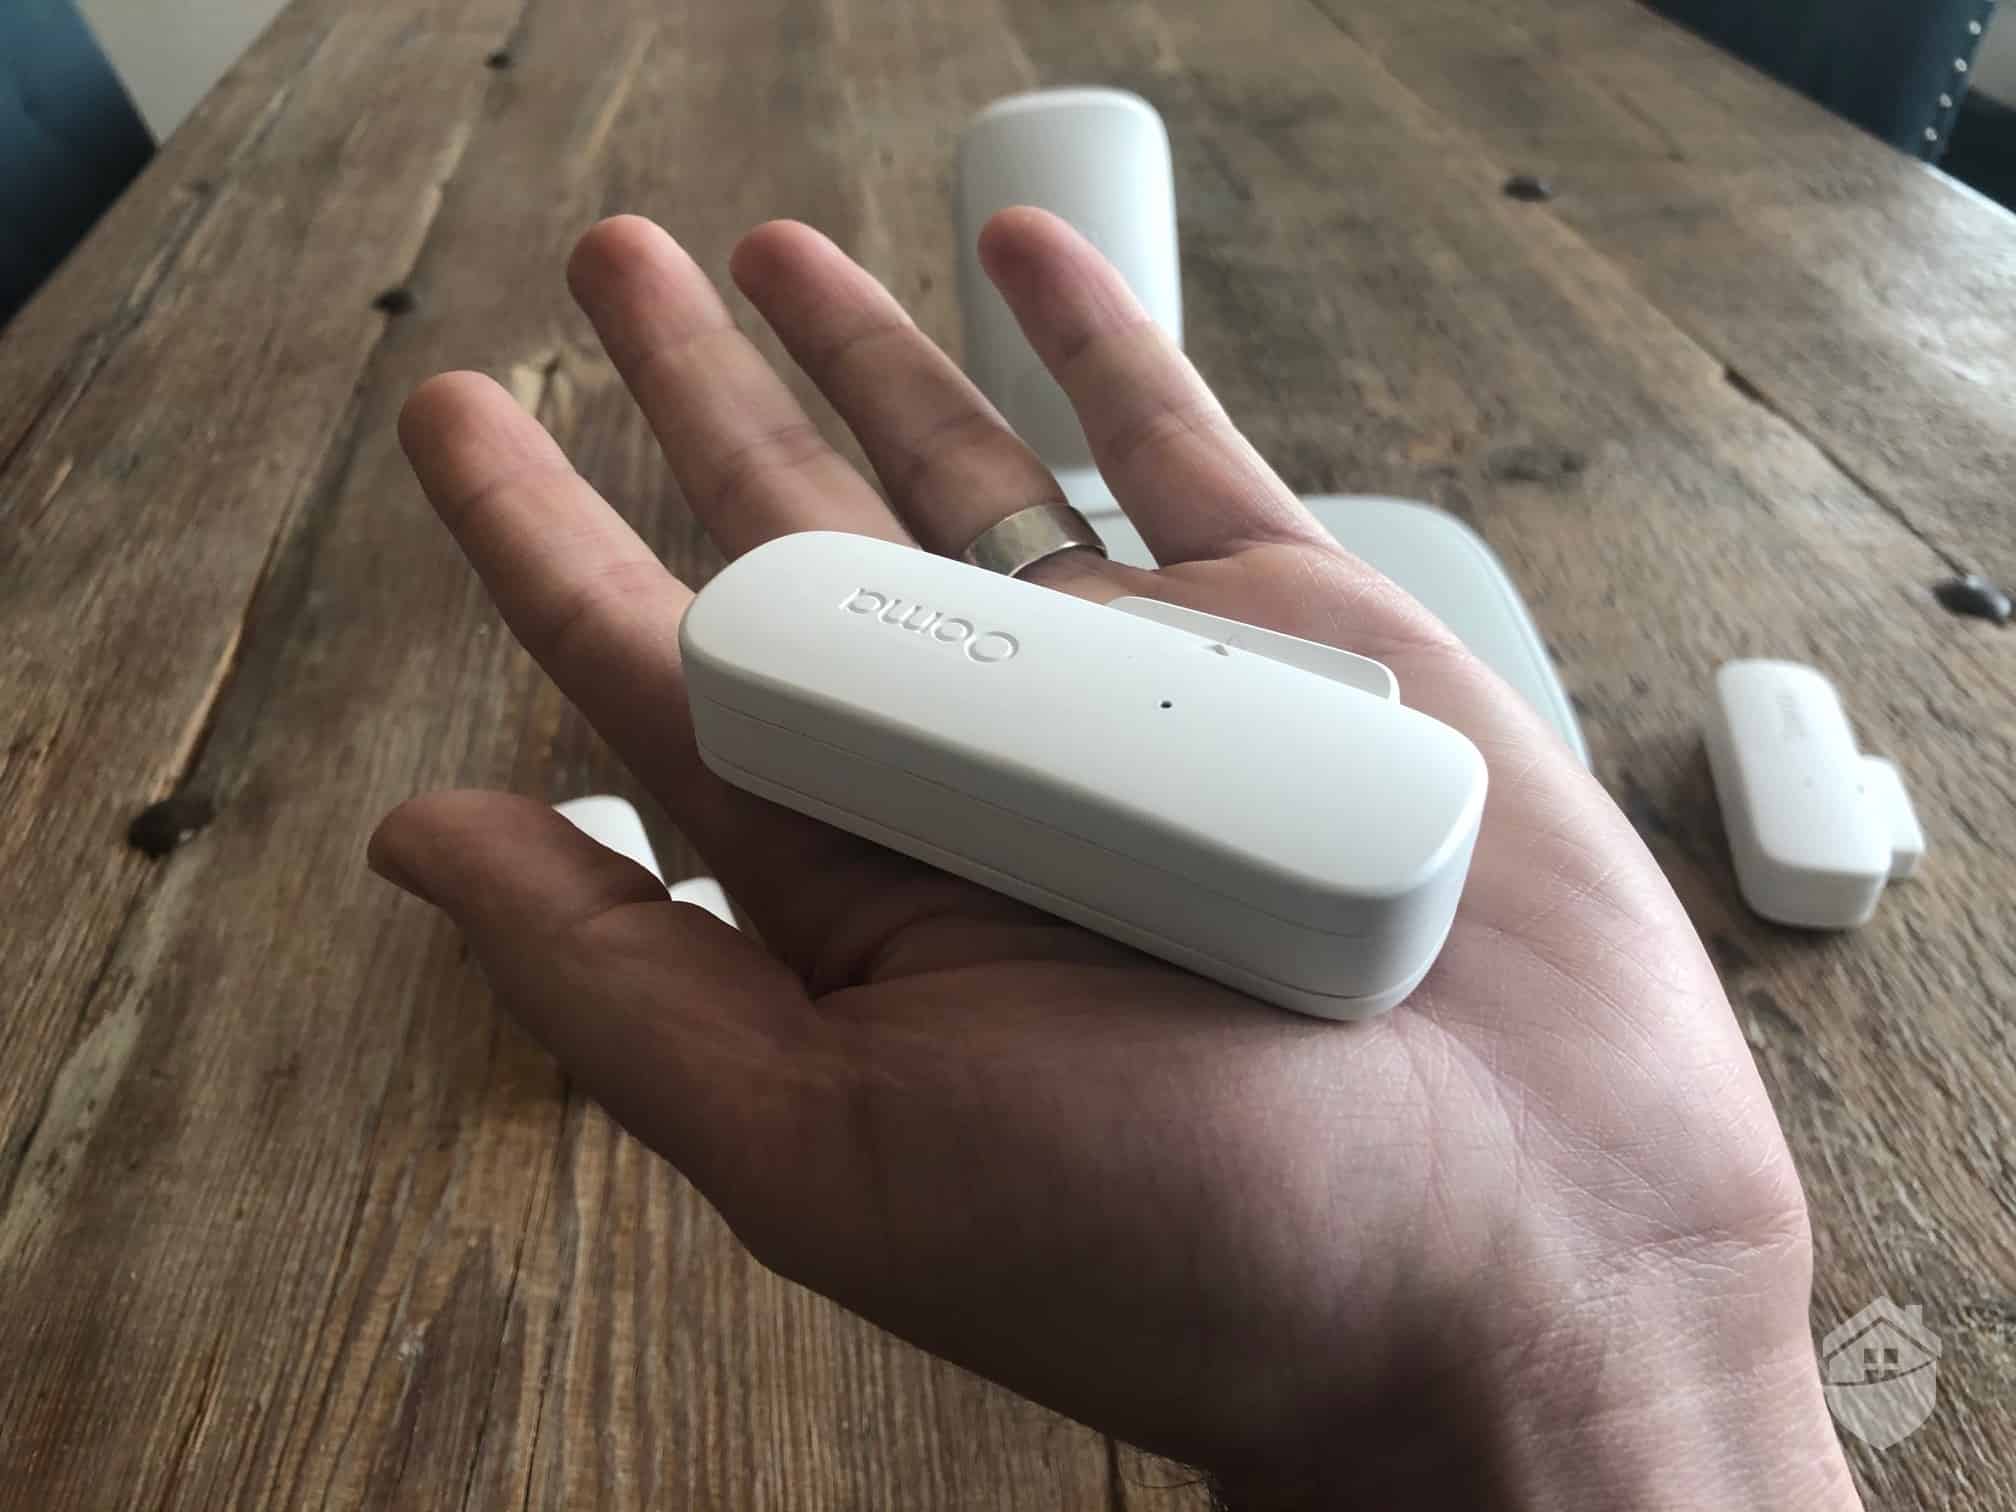
Ooma Door/Window Sensor
Great question! The Ooma Telo is your main hub that communicates with your Ooma devices (entry sensors, motion sensor, security camera). It’ll send a signal to the monitoring center if there’s big trouble in little China. Also, like other hubs, it has a built-in siren. But we found that the Telo has a few more tricks up its sleeve.
Ooma is actually a big deal in the VoIP space, offering voice-over-internet with the best of them.1 In a nutshell, the Telo connects your phone to your Internet router, and just like that you have free nationwide calling. So think of it as a VoIP phone service that moonlights as a home security system. But… is it the best of both worlds? Let’s find out.
Do-it-yourself is the name of the game in home security these days. The systems are pre-configured at the factory. They arrive at your doorstep ready to go. And they install in a matter of minutes. We must say, this description fits Ooma to a ‘T’. In fact, the lighting-fast installation was one of our favorite things about Ooma.
When we opened the user manual, on the very first page it said: “The Ooma Smart Security app will be the main tool you use to control your home security system.” No complaints here! We’re big fans of app-based controls and being able to arm and disarm our system using our smartphones. It’s like Ooma knows our love language; so we went ahead and downloaded the app.
FYI: You’ll notice that Ooma’s base packages don’t include a keypad or control panel. That’s because you can download the Ooma app and have all of your settings and controls at your fingertips. This is becoming standard in the industry, but as you’ll read later in this review, there’s lots to like about Ooma’s app.
You’ve probably used a clunky app in the past. If so, we think you’ll like that the Ooma Smart Security app gets a solid 4.8 stars in the app store (see below). We downloaded it and began creating our new account.
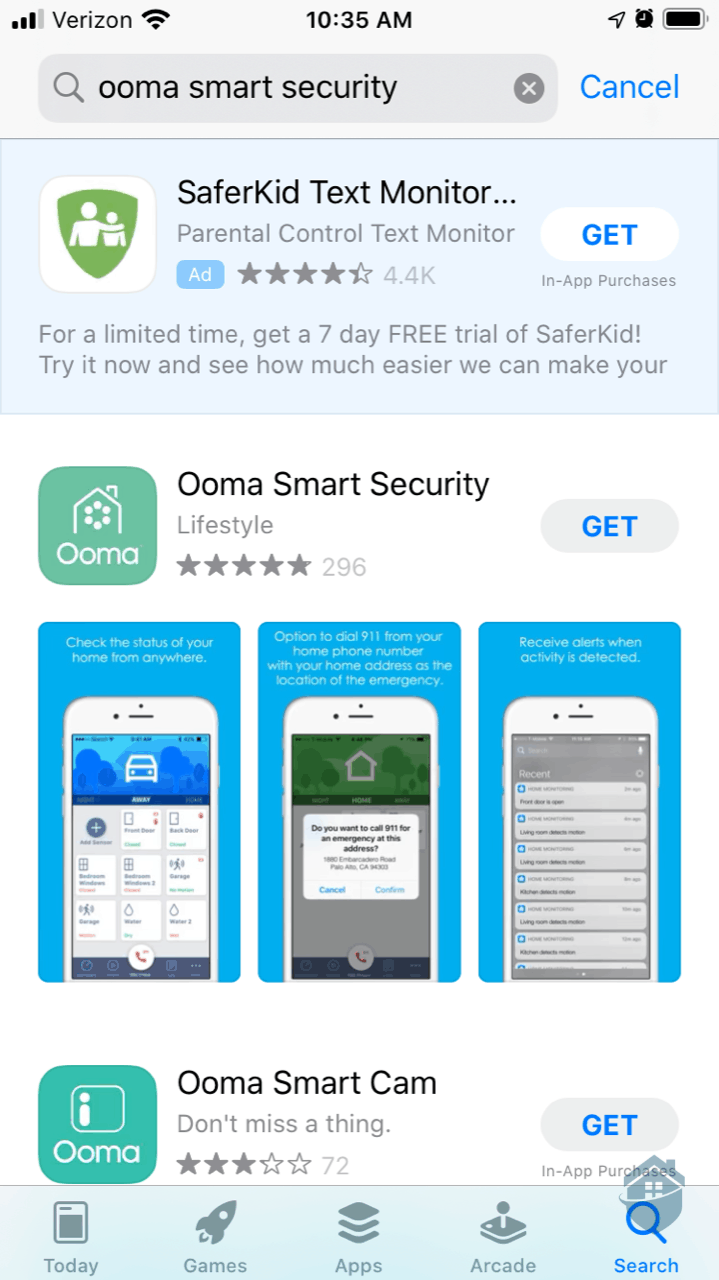
Downloading Ooma App
Now, you’re probably really curious about Ooma’s overall functionality and how it protected our home. So we’ll try not to belabor the setup and installation process. But just so you have an idea of what’s in store, here are the 10 basic steps:
Step 1: Select “Create Account” in the app.
Step 2: Enter the 7-digit code on the bottom of your Telo.
Step 3: Enter some basic info like your name, phone number, email address, and service address.
Step 4: Enter your Ooma number. Wait… what’s an Ooma number? We couldn’t find ours anywhere, so we decided to call in to customer support.
Pro Tip: We eventually found our Ooma number in our Ooma welcome email. It’s a 10-digit phone number with area code, similar to your own phone number, but different. This is your default number if you choose to use VoIP.
Step 5: Speak with a polite Ooma agent who lives/works overseas, and maybe hear a rooster in the background? Yes, that happened, but it honestly made the experience more enjoyable.
Step 6: Plug one end of the ethernet cord into the back of the Telo, and plug the other end into your router so that it connects directly to your internet.
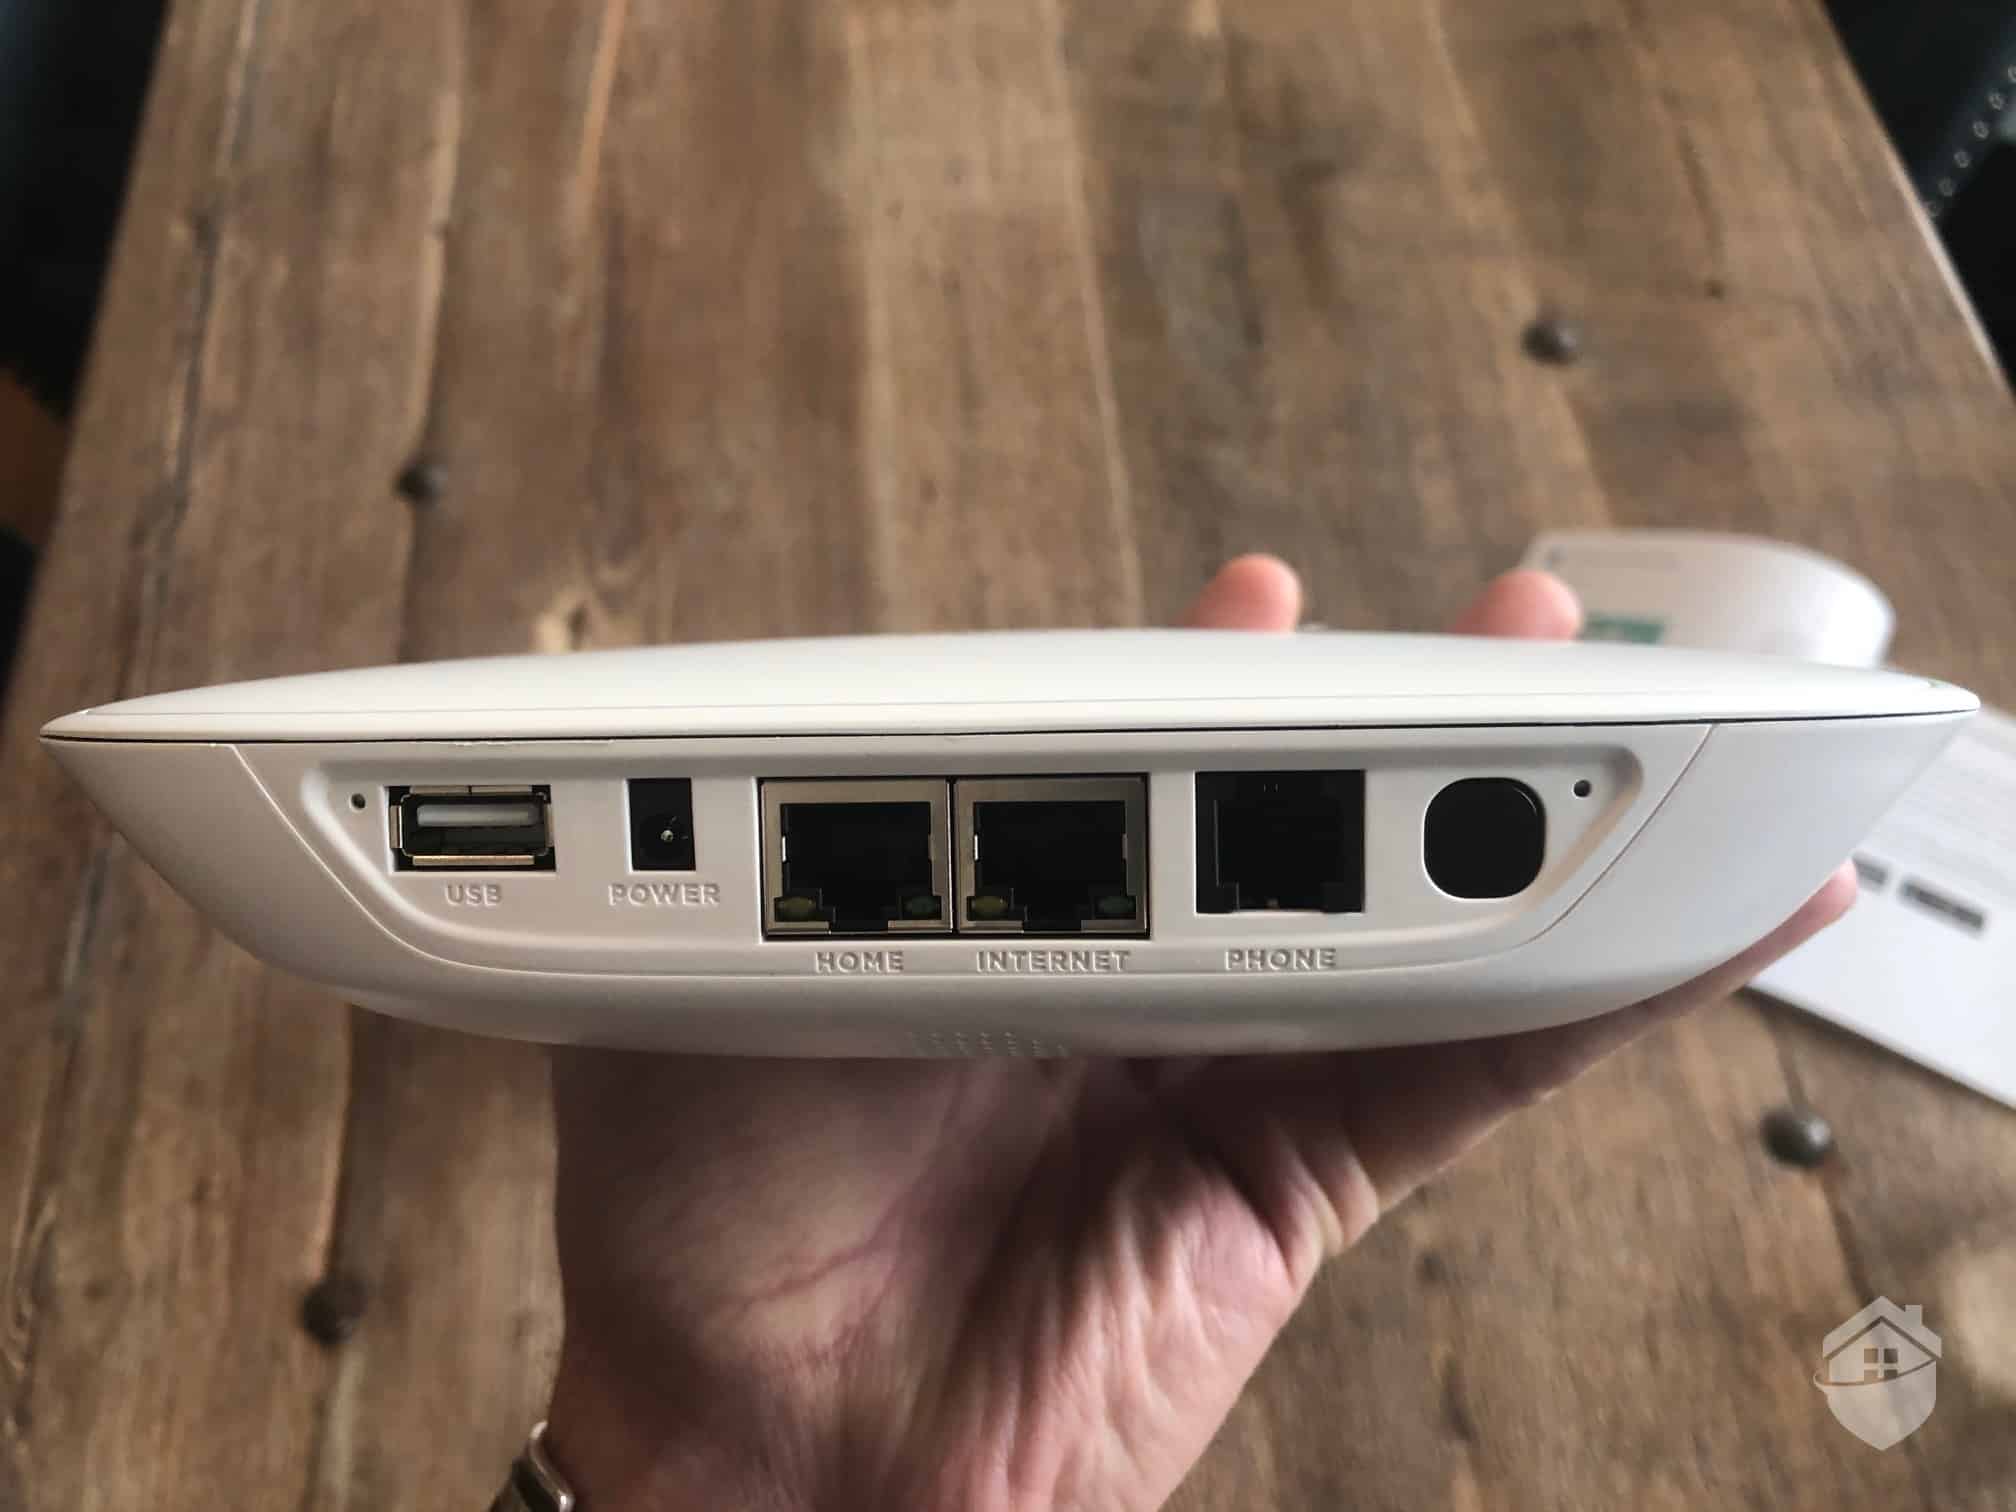
Ooma – Back of Telo
Step 7: Plug in the Telo’s power cable into a standard AC outlet.
Step 8: Allow the base station to download and install the latest software. It said this would take 30 minutes, but for us it only took 3-4 minutes tops. Not bad.
Step 9: When the flower emblem on the Telo turns solid blue, it’s time to add your door/window sensors and motion sensor to your system. Pop the batteries into the sensors, and then follow the in-app instructions to pair the sensors to the Telo.
Keep In Mind: The sensor pairing button can only be seen when the back cover of the sensor is off. Don’t get the pairing button confused with the “tamper proof” button, which is also on the back of the sensor. The manual makes this pretty clear.
Step 10: Stick ‘em up! It’s time to mount your sensors to your door and window frames. You won’t need any tools, as you’ll find adhesive strips in your Ooma box.
If you’re curious about how the sensors look in action, have a look at the shot we snapped below of Ooma’s sensors (top) compared to Vivint’s sensors (bottom). You’ll notice that Vivint’s sensors are smaller, but we prefer Ooma’s sensor design.
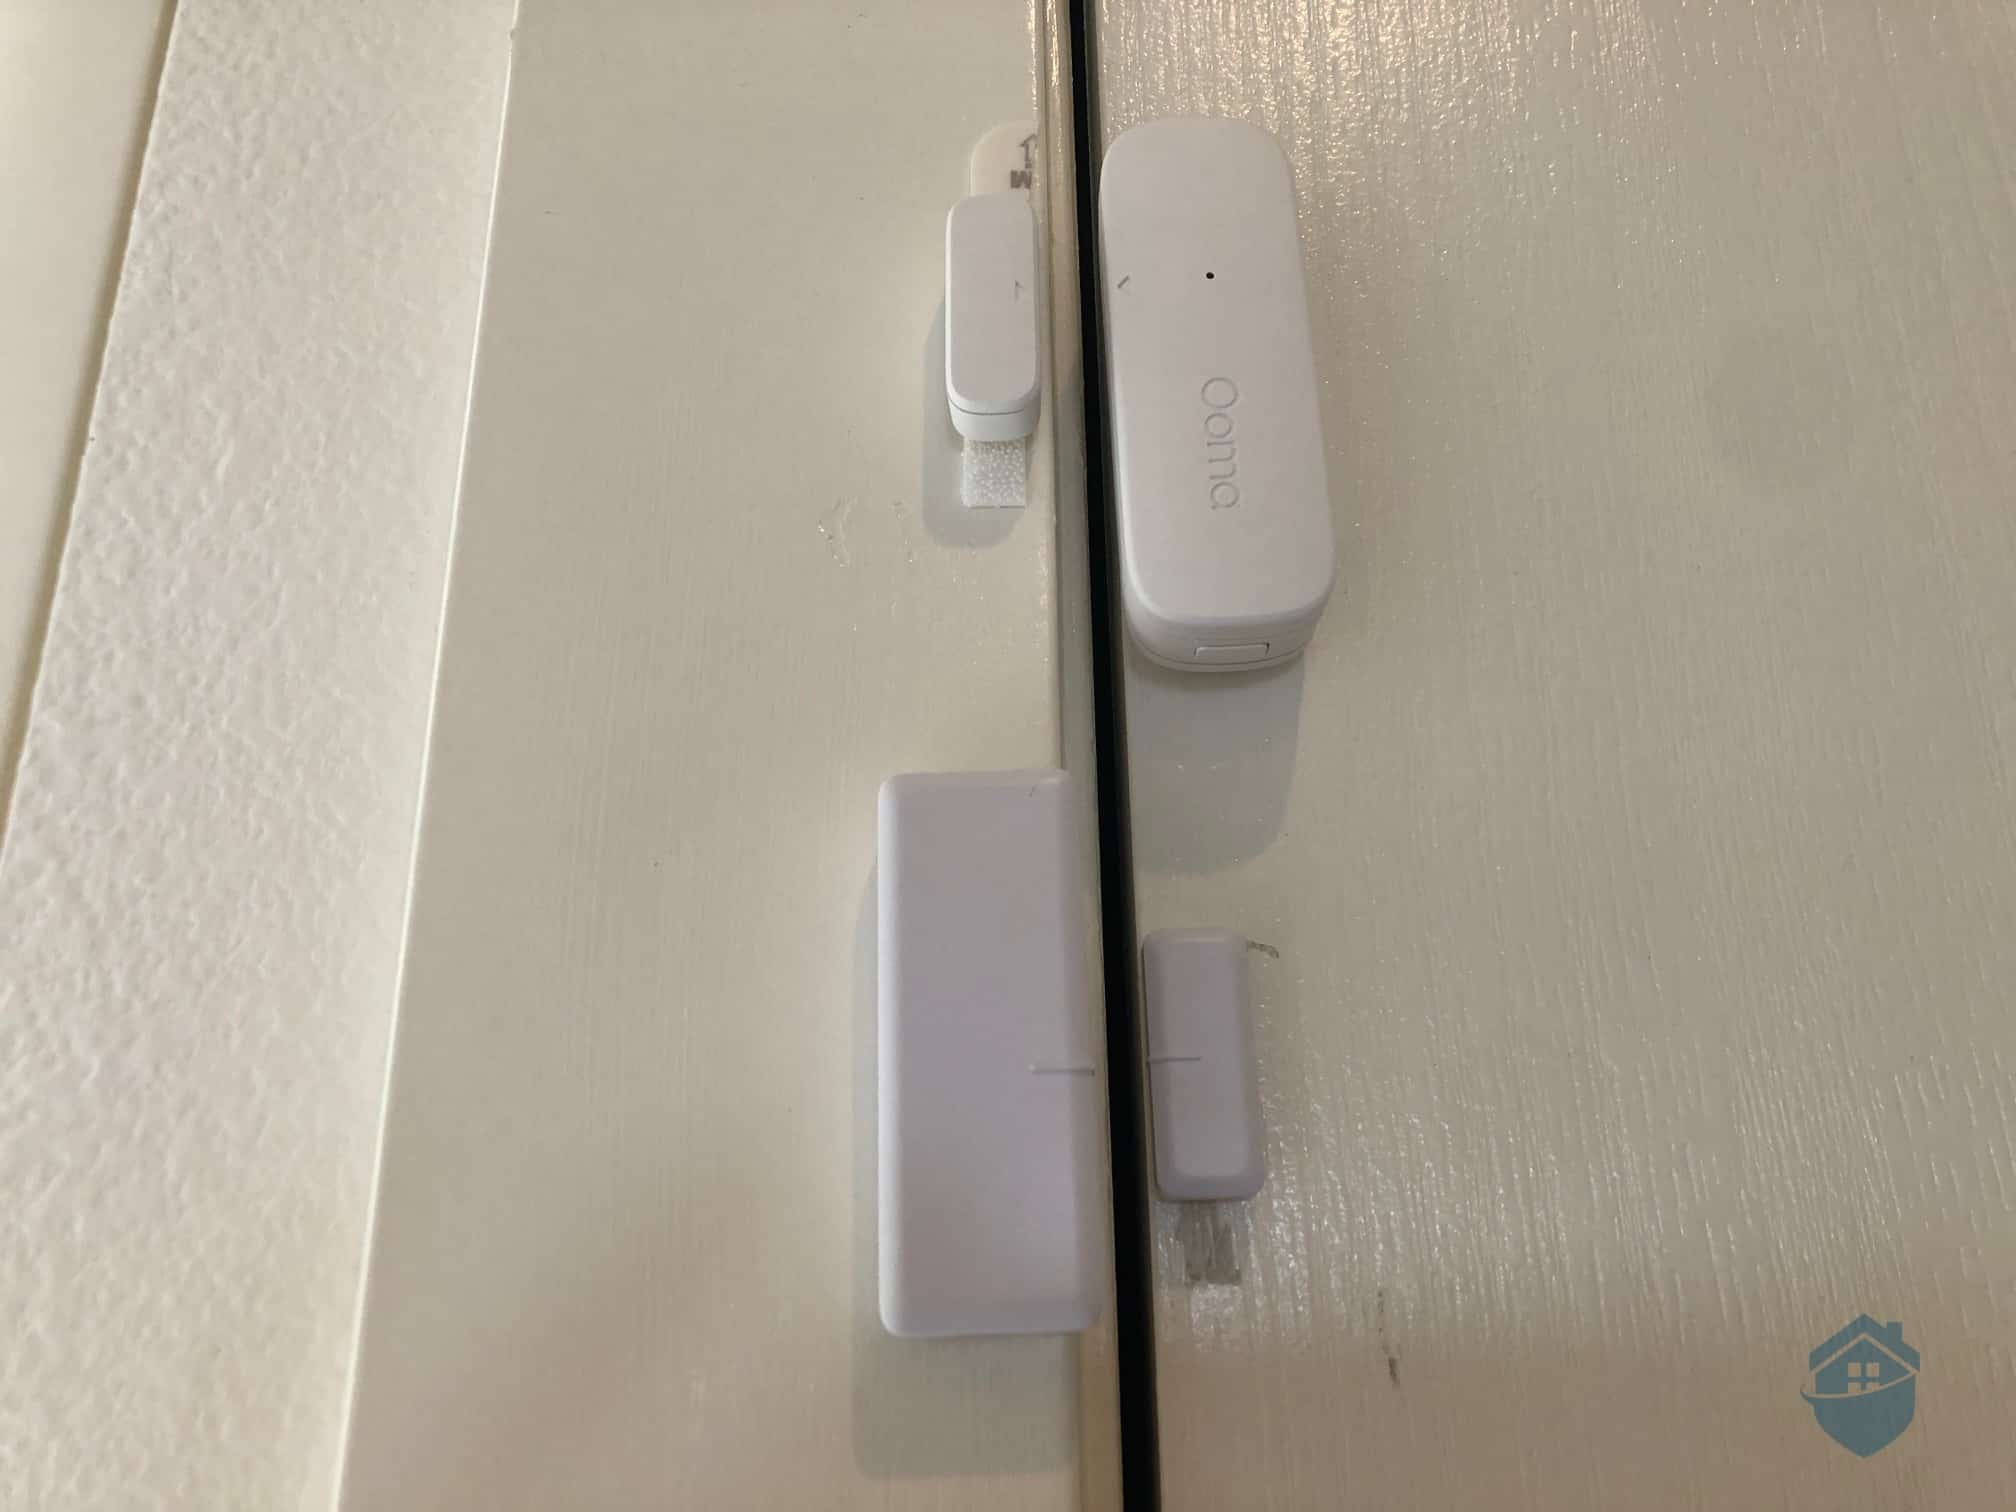
Ooma Sensor compared to Vivint
Right away, we found our Ooma security system to be very user-friendly. This is in part due to its basic feature-set; there just wasn’t a whole of technology to get tripped up on. But keep in mind this also means there’s not a lot of technology to enjoy (not even a siren!). Ooma is one of those “what you see is what you get” systems, with a couple of interesting twists found in the app.
We managed our system entirely in the Ooma app (remember, there’s no keypad!). Thankfully, the app put all of our commands at our fingertips. You’ll find a simple sliding banner at the top to arm and disarm your alarm.
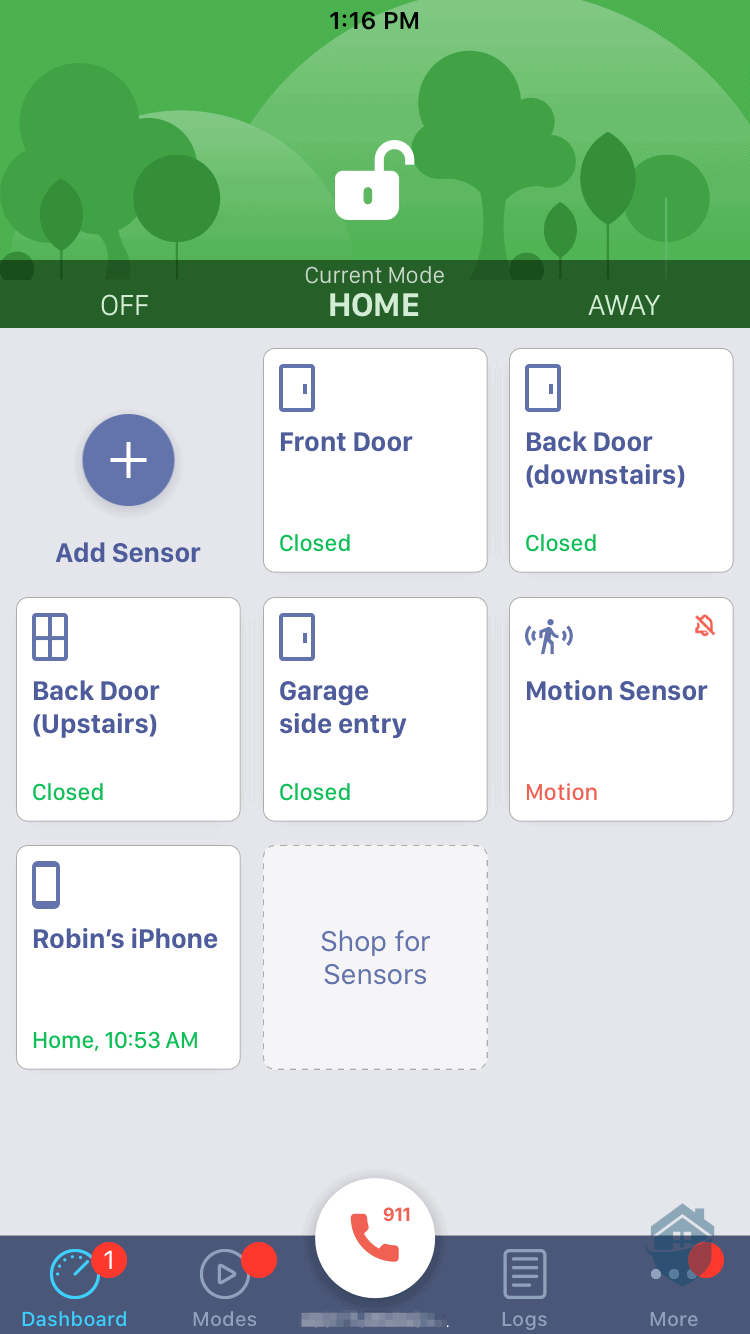
Ooma App Dashboard
On the Ooma dashboard, we had the usual “Off,” “Home,” and “Away” modes. But we also had the ability to customize modes to our heart’s content. And that we did! We found this to be one advantage Ooma has over many other DIY security systems.
We have a dog-walker stop by during the week, so we set up a “Dog Walker” mode in the app. And part of the genius of modes is being able to set custom schedules. For instance, we set a custom schedule to disarm our system 10 minutes before our dog walker arrived, and then we set it to arm again after she left.
There’s an obvious benefit to note here. That is, it’s nice not having to scramble to disarm our system in time. So spending a few minutes in the app to customize these settings makes a lot of sense to us.
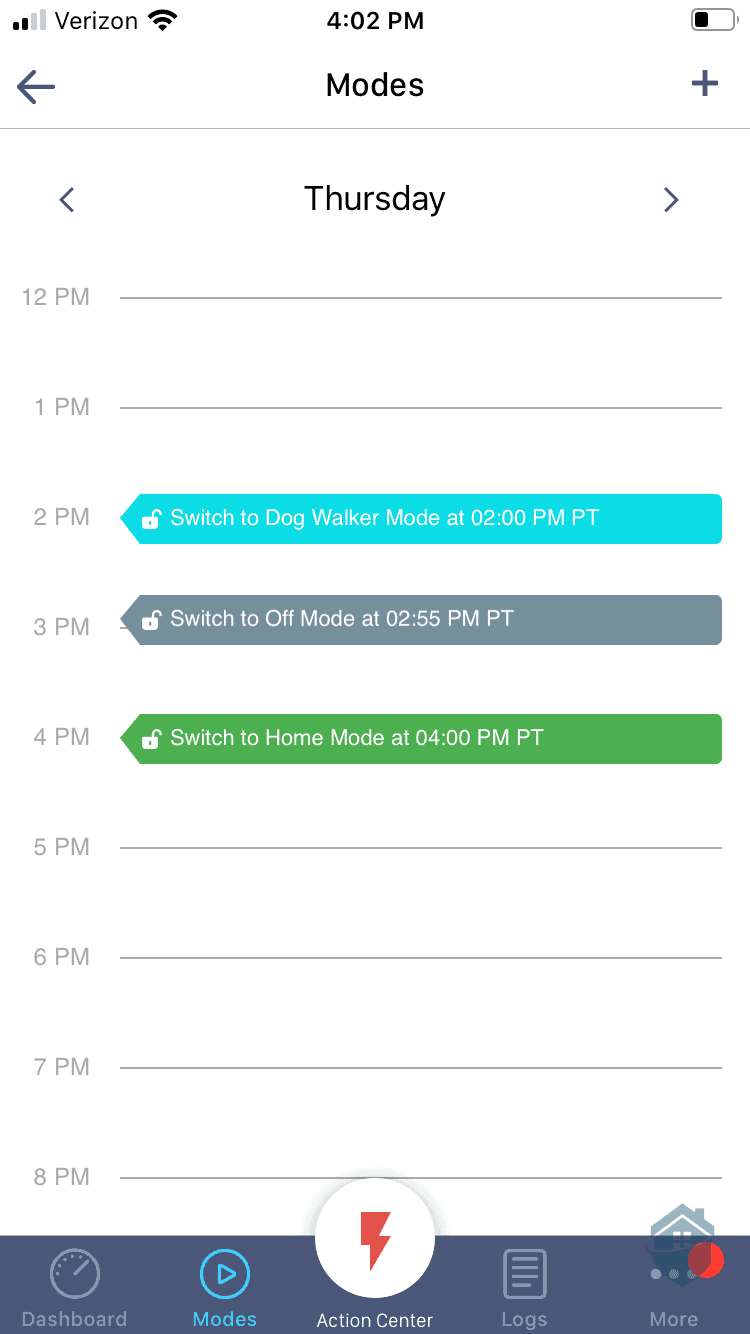
Ooma App – Modes
We also set our Ooma to switch to “Home” mode at 11 pm, and “Off” at 6 am, every day of the week. You might be wondering, why not just open the app and do it manually, as it only takes a couple of seconds? The reason is simple: if you’ve ever had a security system, you know that it’s all-too-easy to forget to arm your system at night, and just as worse, to disarm it in the morning (that’s a loud mistake!).
We can see Ooma’s Modes and Schedules being useful in all sorts of scenarios. Kids coming home from school, contractors stopping by to put in some work, nannies ready to clock in… and on and on. Of course, it’s not exactly groundbreaking technology (it’s actually fairly simple), but we think it’s a nice touch to dress up an otherwise barebones system.
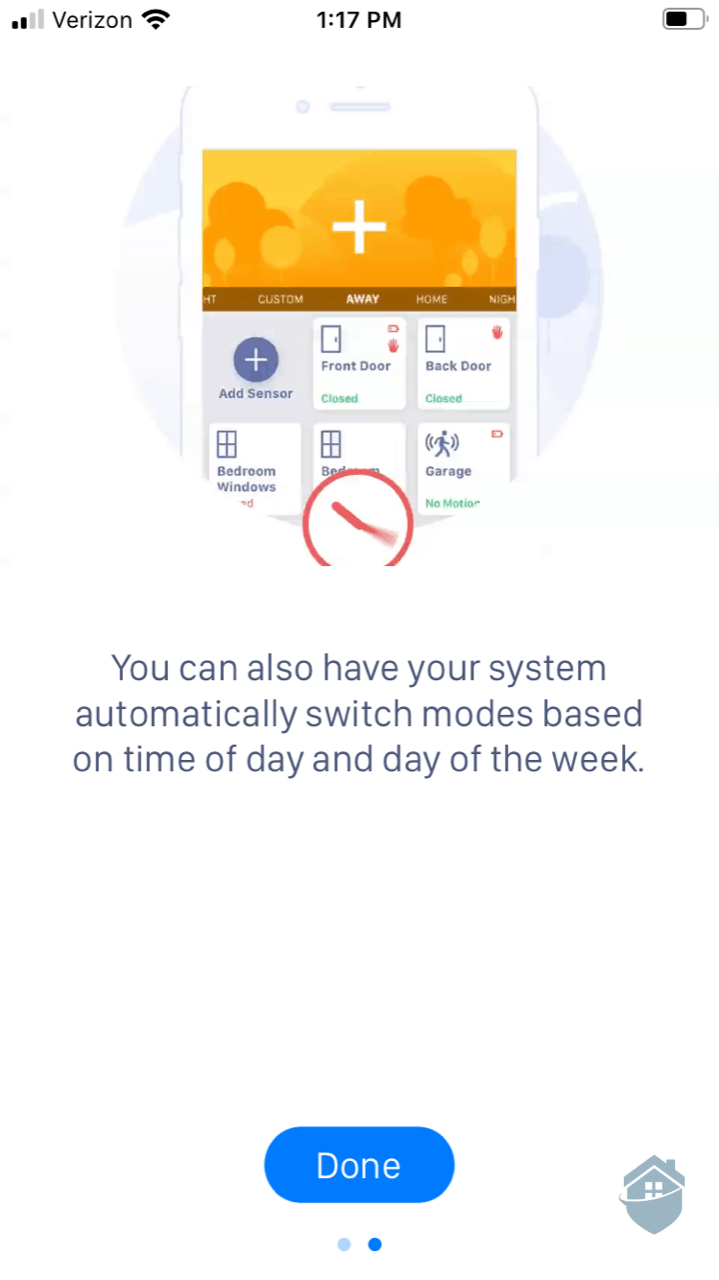
Ooma App – Setting the System
Another mode that Ooma offers is geofencing.2 This allowed us to define a virtual fence around our home, and whenever we went beyond the geofence our system would automatically arm. We’re always happy to see this feature offered in DIY systems, just be sure to set it up correctly.
You’ll need to enable geofence on all mobile devices in your family. If you don’t, you’ll be in for a fright. In fact, a while back we were testing Abode — another brand that offers geofencing — and we forgot to enable geofencing on the wife’s phone. Then, while leaving for the day with the wife still at home, our system armed “Away” with her still in it. Sure enough she walked by a motion sensor and the alarm went off. That’s a mistake you only make once!
Another great Ooma feature is their custom notifications. While on the dashboard, we were able to select our individual devices and really drill down the notifications. After all, when there’s activity in our home, we want to know about it — especially since the “activity” might be a burglar breaking in.
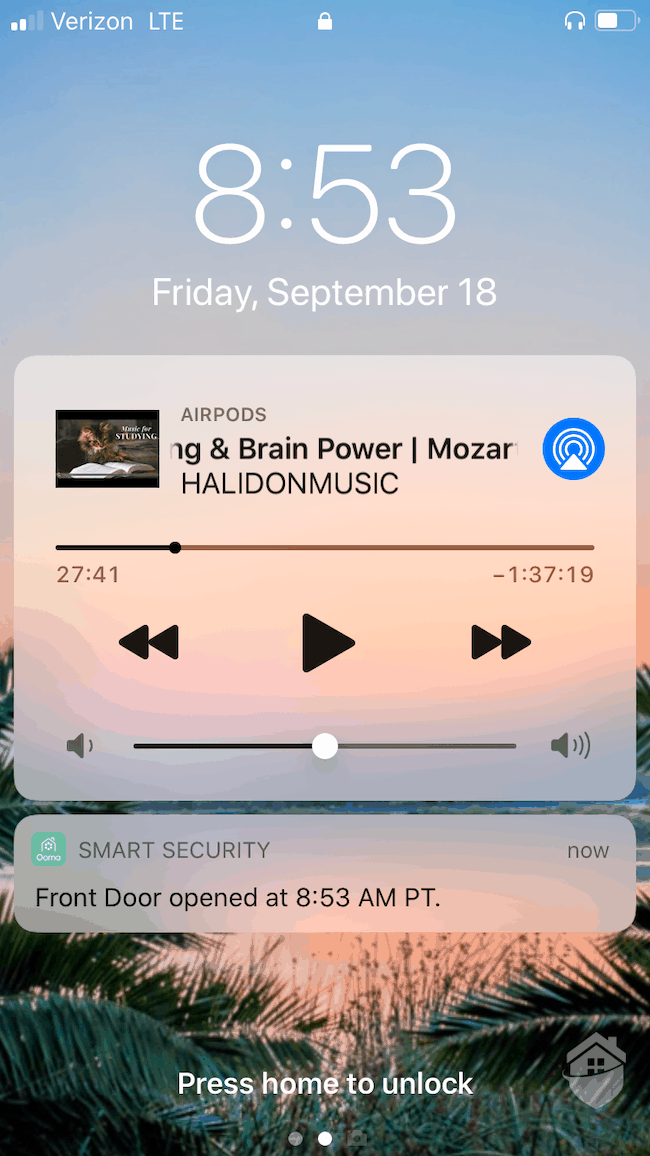
Ooma Notification
Thankfully, you get plenty of alert customizations with Ooma. Want push notifications through the app? How about email or SMS/text alerts? Ooma has you pretty much covered. They’ll even give you a good ol’ fashioned phone call if you want. Note that custom notifications aren’t always available in DIY systems, so kudos to Ooma here.
Pro Tip: If you’re expecting lots of activity in a short amount of time, you can pause all notifications for 5 minutes in one fell swoop. You’ll find this toggle under the “More” tab in the Ooma app. We used it when the family dropped by for a quick visit.
The around-the-clock monitoring offered by Ooma is decent, but not great. The few times we tested the alarm, we experienced 30 second response times, which is average for the industry. Now, keep in mind this is just the time it took for Ooma agents to call us, not the time it would take for police to arrive in the event of a real emergency.3 Those are two very different things.
For some reason, though, Ooma put our system on a “grace delay” default, meaning they wouldn’t call us until a full minute after our alarm went off. This is to reduce false alarms and give us time to disable our system, but 60 seconds is far too much time for an alarm delay (imagine the head start that would give a criminal!). Thankfully, you can reduce this delay. We set ours to 15 seconds for good measure.
One of Ooma’s strengths is the affordability of their professional monitoring. It only costs $14.95 per month for 24/7 professional monitoring, just remember that you’ll have to purchase a siren separately if you want to scare away criminals in the act!
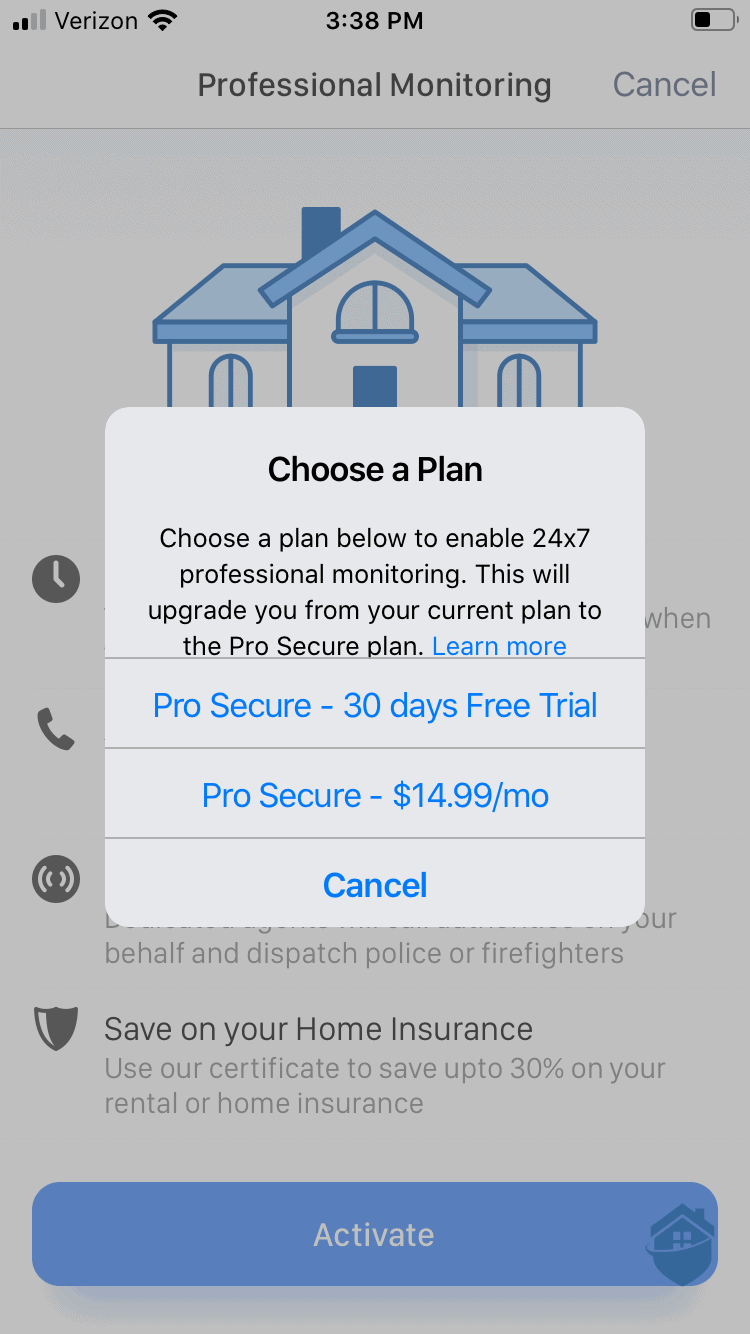
Ooma App – Choosing a Monitoring Plan
Ooma’s new home security camera is called the “Butterfleye” (we see what you did there, Ooma). We’re excited to try out this little wireless camera. It’ll give you sharp image quality with 1080p HD resolution, and it comes with a rechargeable battery pack that can keep the camera running even if/when your Wi-Fi fails or your power cuts out. A couple of other noteworthy features are its ability to identify people and pets, and you’ll get 32GB of local video storage, too. Not bad.
We found the price of this camera to be fair. The Ooma Butterfleye retails for about $200, which is slightly cheaper than other smart cameras on the market. We just wish Ooma offered more choices for indoor and outdoor cameras. Other home security brands like Ring and Arlo really stack the options in your favor.
We were pleasantly surprised by Ooma’s prices. But keep in mind that the kits come with limited equipment. You’ll likely have to purchase additional sensors if you’re looking to secure your whole home. And remember, the Telo does not have a built-in siren. If you want a siren, you’ll have to purchase it separately for $39.99.
| Smart Security Starter Pack | Smart Security Starter Pack with Water Sensor | Ooma Smart Security 12-Piece Bundle |
|---|---|---|
| 1 Ooma Telo | 1 Ooma Telo | Telo + Motion Sensor |
| 1 Motion Sensor | 1 Motion Sensor | 6 Door/Window Sensors |
| 2 Door/Window Sensors | 2 Door/Window Sensors | Smoke Detector |
| — | Water Sensor | Water Sensor |
| — | — | Siren |
| $149.99 | $179.99 | Coming Soon |
We like the direction Ooma is heading with their basic and affordable home security systems. It’s a fast-growing company that shows lots of promise.4 We would, however, have liked to see the Telo come with a built-in siren. And a few more camera options would be nice. But otherwise, we think Ooma offers a lot of value at the sub-$200 price point.
Does it measure up to some of our best home security systems? Well, we have to say, it certainly gives DIY systems a run for their money. Just remember that what you see is what you get with Ooma; don’t expect the world from it. But if you’re looking for ultra-cheap equipment and low-cost monitoring ($14.99 per month!), then Ooma might be worth a shot.
No, thankfully Ooma is month-to-month home security. This means you can cancel anytime without penalty.
Ooma offers very limited home automation capabilities. As far as we know, the systems only work with Amazon Alexa and Google Assistant.
Yes, Ooma now offers the Butterfleye camera, a wireless camera with 1080p HD resolution and lots of onboard storage.
All of Ooma’s systems are 100% wireless and offer easy DIY installation.
Yes, Ooma offers affordable professional monitoring at only $14.95 per month. But remember, if you want active theft/burglary deterrence, you’ll have to purchase a siren separately.
Federal Communications Commission. (2020). Voice Over Internet Protocol (VoIP).
https://www.fcc.gov/general/voice-over-internet-protocol-voip
White, S. (2017, November 1). What is geofencing? Putting location to work. CIO.
https://www.cio.com/article/2383123/geofencing-explained.html
Boris, T. (2019, January 15). The Harsh Reality of Home Security Systems & Their Response Times. DeepSentinel.com. https://www.deepsentinel.com/blogs/news/the-harsh-reality-of-home-security-systems-their-response-times/
Stock, L. (2016, April 19). Silicon Valley Business Journal reveals fastest-growing private companies. Silicon Valley Business Journal.
https://www.bizjournals.com/sanjose/news/2015/10/16/silicon-valley-business-journal-reveals-fastest.html